Floating shelves add storage and style without visible brackets. With a little planning, basic carpentry skills and the right hardware, you can build DIY floating shelves that look custom and safely hold books, plants and kitchenware.
Materials and tools
- Hardwood or solid pine boards (1½–2 inches thick look best)
- Heavy-duty hidden floating-shelf brackets rated for your load
- Stud finder, level, tape measure and pencil
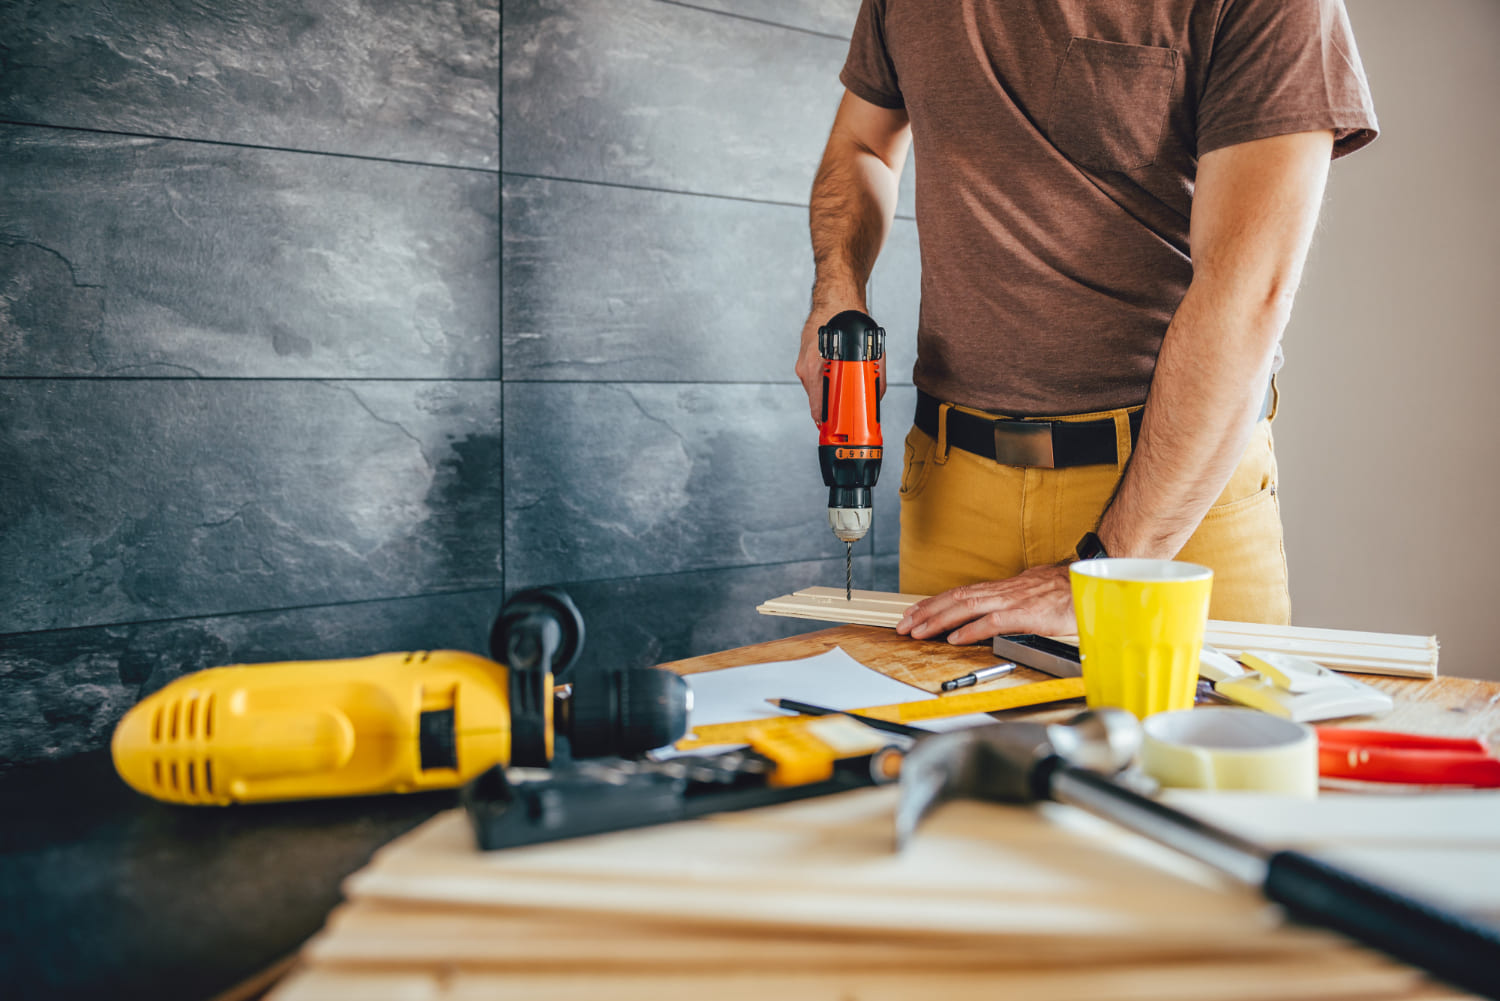
- Cordless drill with wood bits and 3-inch structural screws
- Miter saw or circular saw, sander, wood filler and finish (stain, oil or polyurethane)
Step 1: Plan your shelf layout
Decide on shelf length, depth and spacing. For books and dishes, keep depth between 8 and 10 inches. Use painter’s tape to mark shelf positions on the wall and step back to check proportions before drilling a single hole.
Step 2: Find and mark the studs
Use a stud finder to locate wall studs (typically 16 inches apart). Mark each stud within your shelf’s length. Mounting into studs is the key to a shelf that holds weight. Drywall anchors alone are only suitable for very light decorative shelves.
Step 3: Cut and prepare the boards
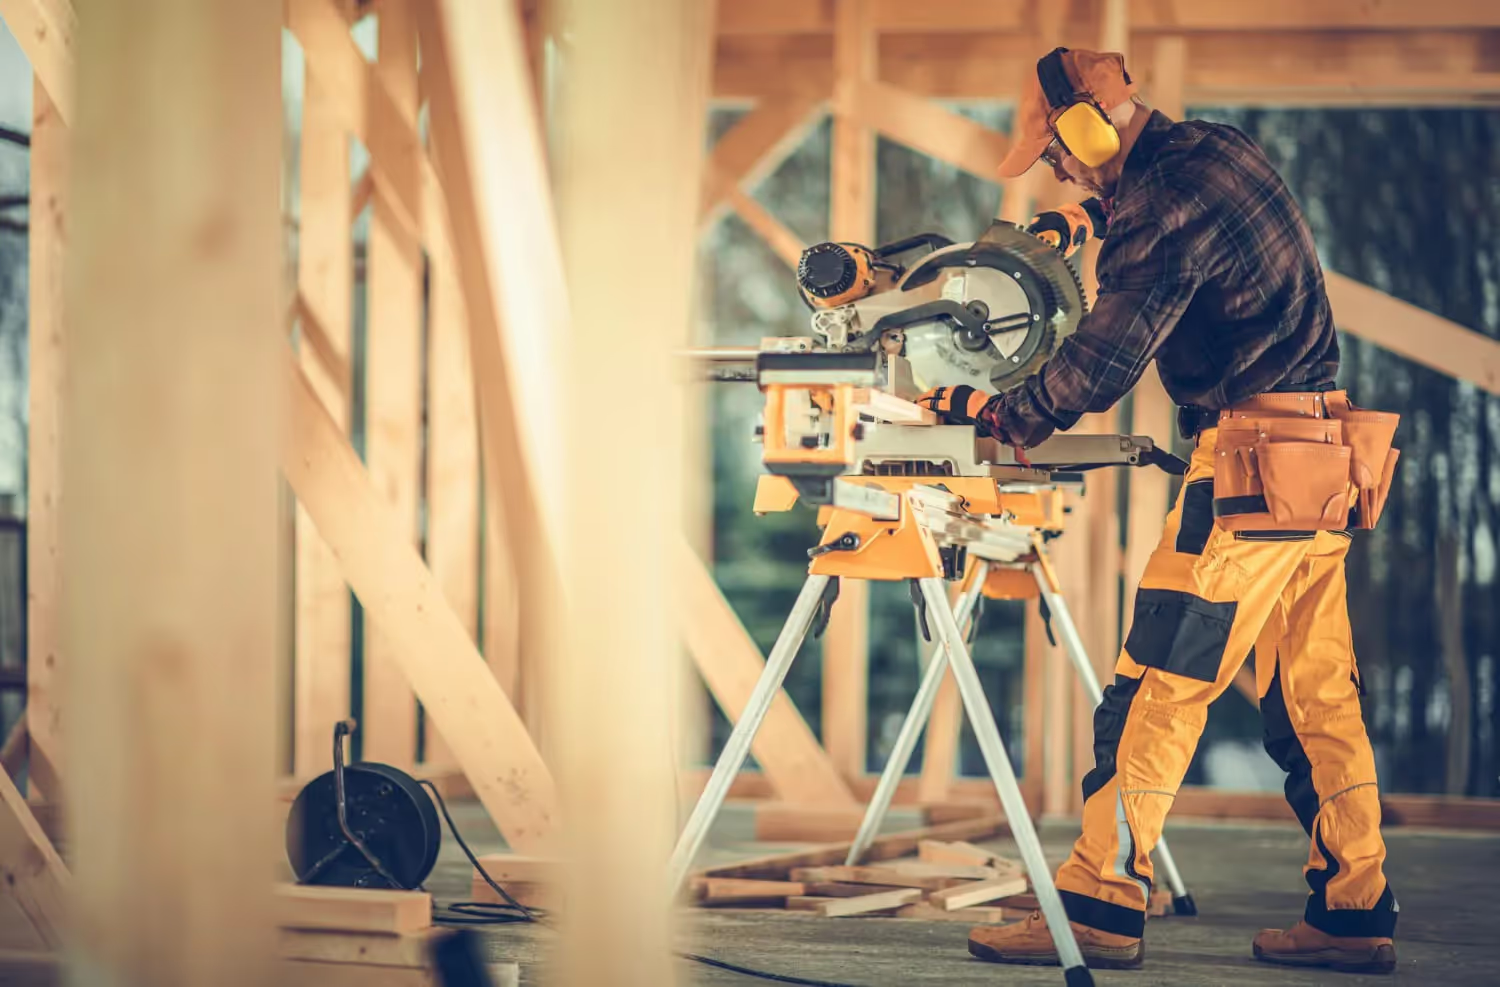
Cut boards to length with a miter saw. Sand from 120 to 220 grit, rounding sharp edges slightly. Apply your stain or finish now and let it cure fully before mounting.
Step 4: Drill holes for the bracket rods
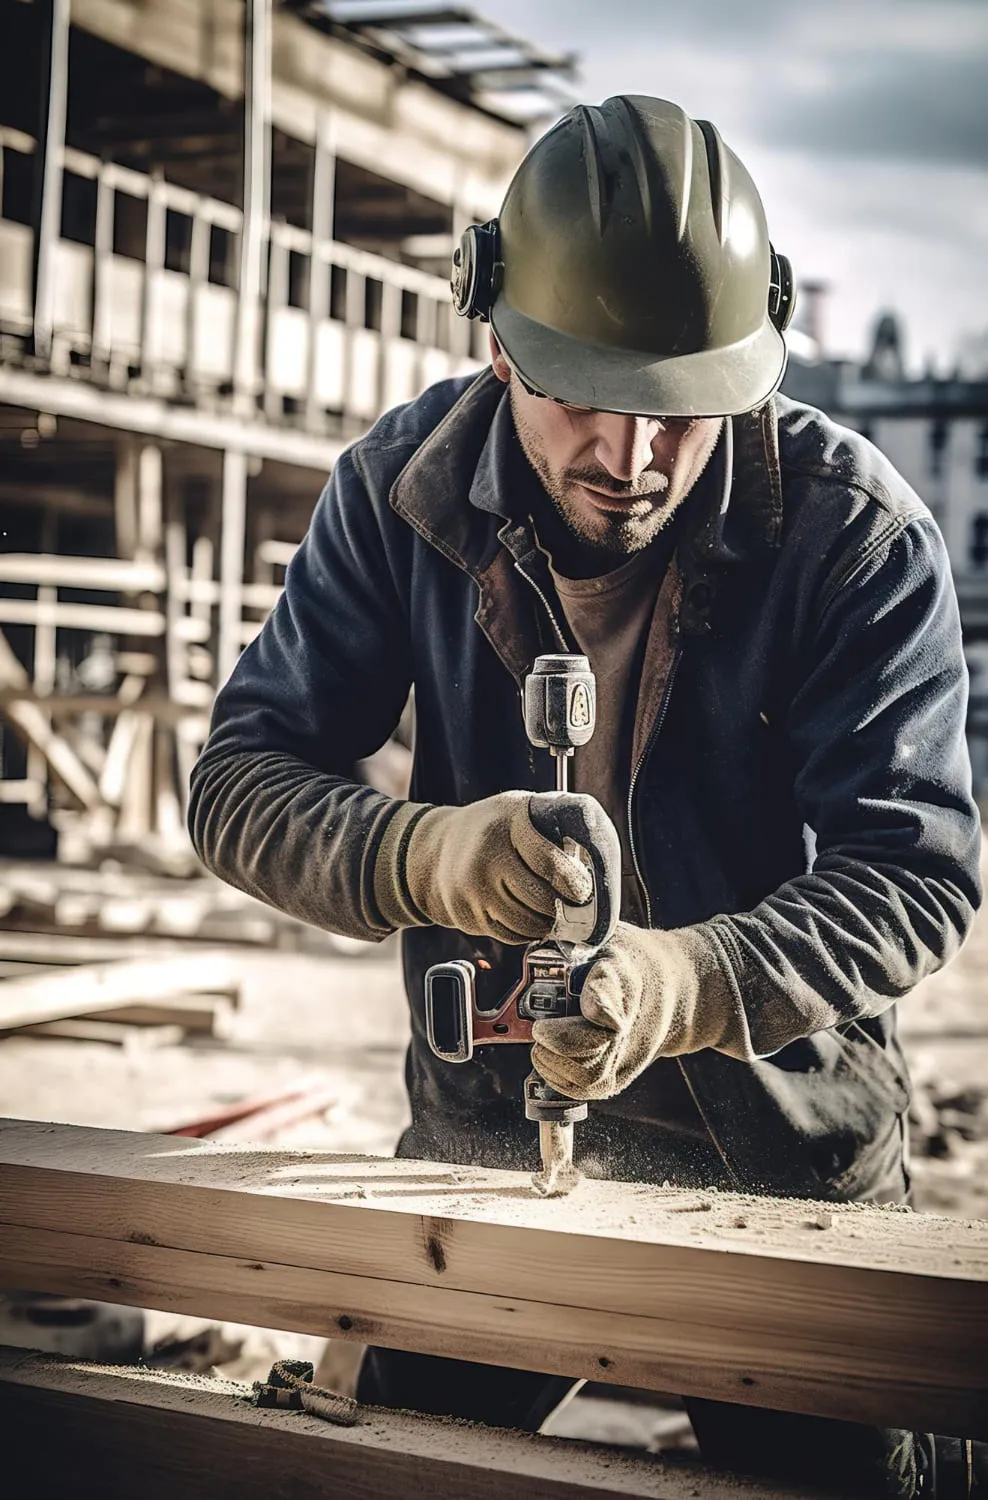
Mark the rod positions on the back edge of each board to match the bracket. Drill straight, level holes to the depth and diameter specified by the bracket manufacturer. A drill guide or doweling jig helps keep holes perfectly perpendicular.
Step 5: Mount the brackets
Hold the bracket against the wall, check it with a level and drive structural screws into every stud. Check for level again after tightening. Small adjustments now prevent a sloping shelf later.
Step 6: Slide the shelf into place
Slide the board onto the bracket rods. If the fit is loose, a small amount of construction adhesive in the holes locks it in. Some brackets include set screws that you tighten from underneath.
Safety check: Before drilling, use a stud finder with wire detection or a non-contact voltage tester to avoid electrical cables and plumbing inside the wall.
How Much Weight Can Floating Shelves Hold?
It depends on three things: the bracket rating, the wall and the shelf depth. A good hidden bracket screwed into two or more studs can hold a heavy load of books. The same bracket in drywall anchors holds far less. Deeper shelves also put more leverage on the screws, so keep heavy shelves shallow.
If you’re unsure, stay under half of the bracket’s rated capacity. That margin covers the extra force when someone leans on a shelf or drops a box on it.
Best Wood for Floating Shelves
Solid hardwoods like oak, walnut and maple look great and resist sagging. Pine is cheaper and easy to cut, but it dents more easily. Avoid thin MDF for long spans because it bends over time. For a rustic look, reclaimed barn wood works well once it’s cleaned and sealed.
Common Mistakes to Avoid
- Drilling rod holes at an angle, which makes the shelf droop forward
- Mounting into drywall alone for heavy loads
- Skipping the finish, which lets kitchen moisture warp the wood
Styling tips
Group items in odd numbers, mix heights and leave some breathing room. Heavier items belong close to the wall and above a stud.
New to power tools? Start with our essential DIY tool kit for beginners before tackling this carpentry project.
For more wall projects, learn how to hang a heavy mirror on drywall, pick the correct bit with our drill bit guide and, if you have young kids, anchor tall furniture to the wall.
Want to keep building? Try one of our DIY furniture ideas for beginners or more storage and organization ideas.